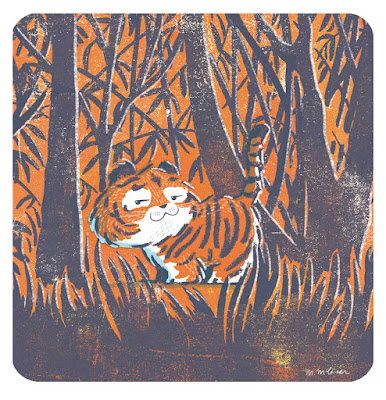
This is a little tiger idea I've been thinking about. My idea feels too simple so I thought making some of the images might help unlock it. There's a quick breakdown of how I made the image below.
I was working on this image on Friday which is also #colour_collective day, and I like to join in from time to time. Luckily, the colours were a perfect fit for my tiger (see below). I like how unusual the purpley blue is but I do think the darker colour I settled on is a bit punchier.
 |
| My colour collective original |
Lately I've been making artwork like I would prepare a screen print. For every colour I make a separate black layer. Imagine the black lines are where the colour will be and imagine that where the paper is white will be clear. Completely see through. It takes a minute to get your head around this. I like to use paint because I'm not very practised with a brush and it allows a less controlled line. That's why I like this whole process, and it means I spend less time at a computer.
I knew this was going to be a two colour image (a dark and an orange plus white) but I wasn't sure if the background would be too busy so I broke the trees into two separations to make it easier to delete one if I needed to. And I wanted to test the tiger outline in both paint and pencil so I kept that apart from the background. This is what everything looks like separately.
 |
| Trees and paint tiger stripes |
 |
| Tiger outlines and fur tests |
The top row is the tiger outline. As much as I like my backgrounds to feel loose, I still like the control I have with a pencil for character outlines. I've drawn it twice because I was testing a regular HB pencil (left) versus a softer colouring pencil line (right). The second row is me testing the fur texture of the tiger. Ultimately, I used the image on the right. I placed this over the tiger and coloured everything outside of it black too. This was going to be my orange layer.
If I lay them all over each other you can get an idea of what the image will look like.
The final image looks like this
It probably seems like a long way of doing things but I find the painting relaxing. My previous Dream Cars post was made similarly except I drew all the colour layers digitally in Procreate, there was no painting. That works well for me with vehicles and structured items but for more natural imagery I prefer to paint in a traditional way.


No comments:
Post a Comment